Friday, 4 July 2014

Texturing Process - House 001

Texturing

Texturing and lighting are probably my favorite part of the whole 3D pipeline. Having a painting background helped a lot in creating various unique textures. I have used Unique textures along with Tileable textures. Most of the grunt work that is the Walls, Floors and the Roof were all tiled. Unique textures were used on the rest of the props on the house.


Autodesk Mudbox Texturing


Photoshop Texturing


CG Textures


UV Unwrapping- Autodesk Maya 2014

Probably my least favorite bit of the project, and many would agree with be but at the same time one of the most important part of the pipeline. No UV's then No Textures then No Lighting. UV's are the backbone to everything and good clean UV's are really important, which helps create good looking Textures to be painted upon or in general just avoids stretching. UV unwrapping the house took about 2 days at most.


CrazyBump

Crazybump was used to generate most of my Normal and Reflection maps. Small handy little software not for puny humans.


Thursday, 3 July 2014

House 001 - Scene Lighting Pipeline

Lighting


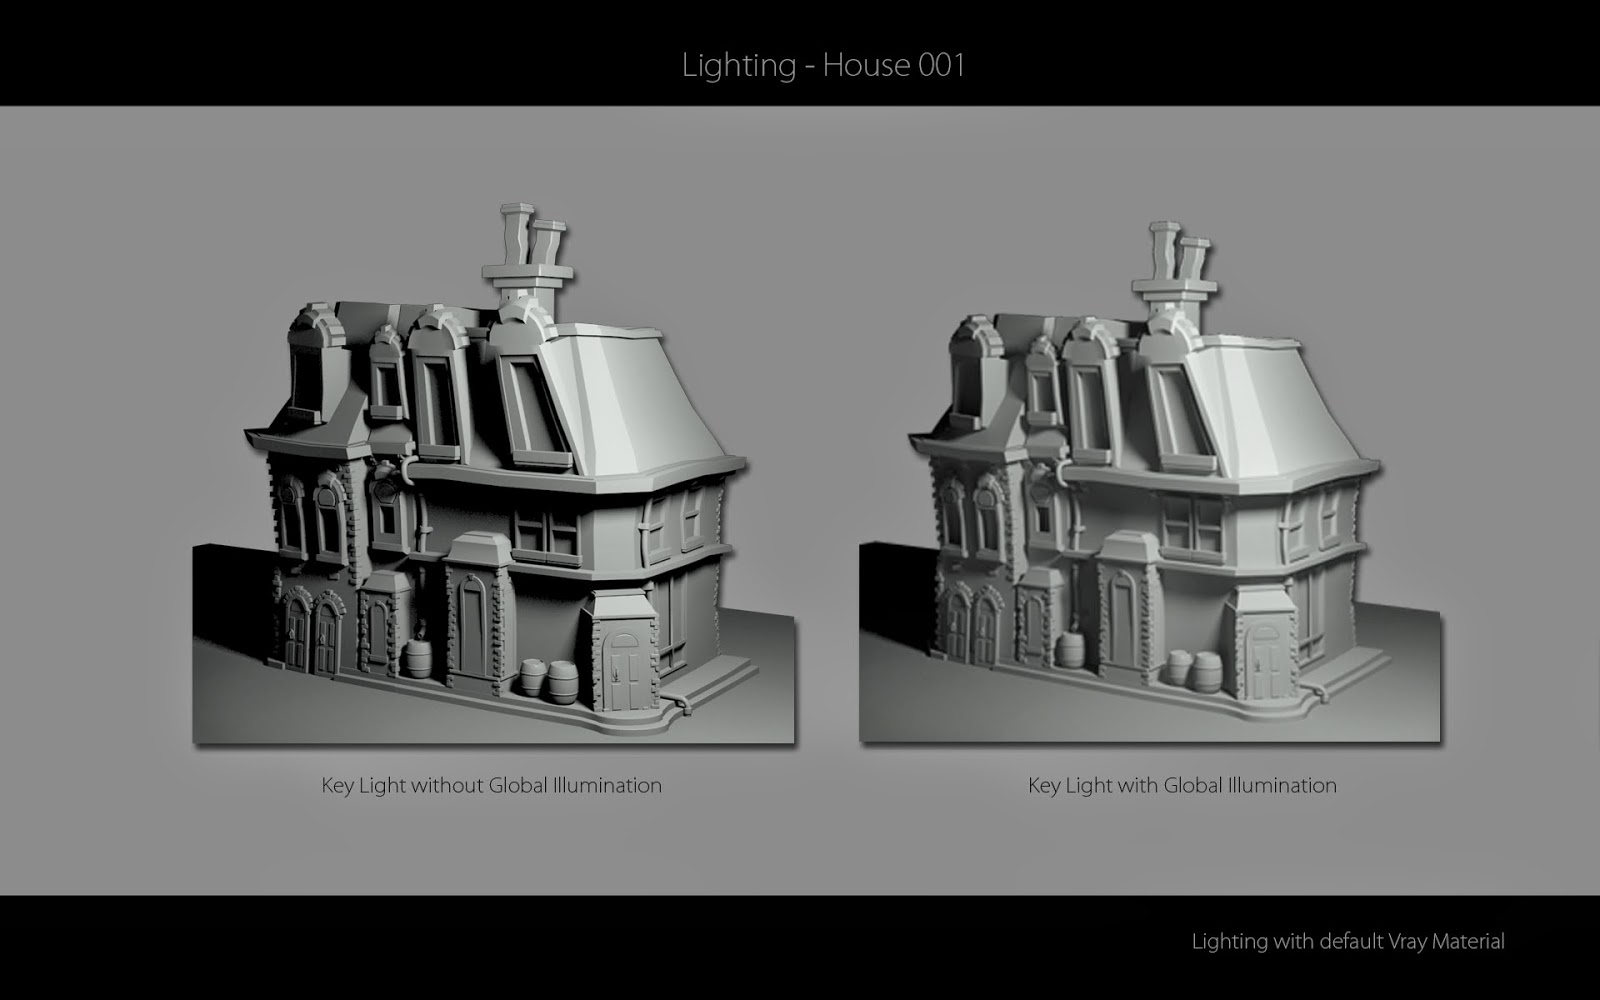
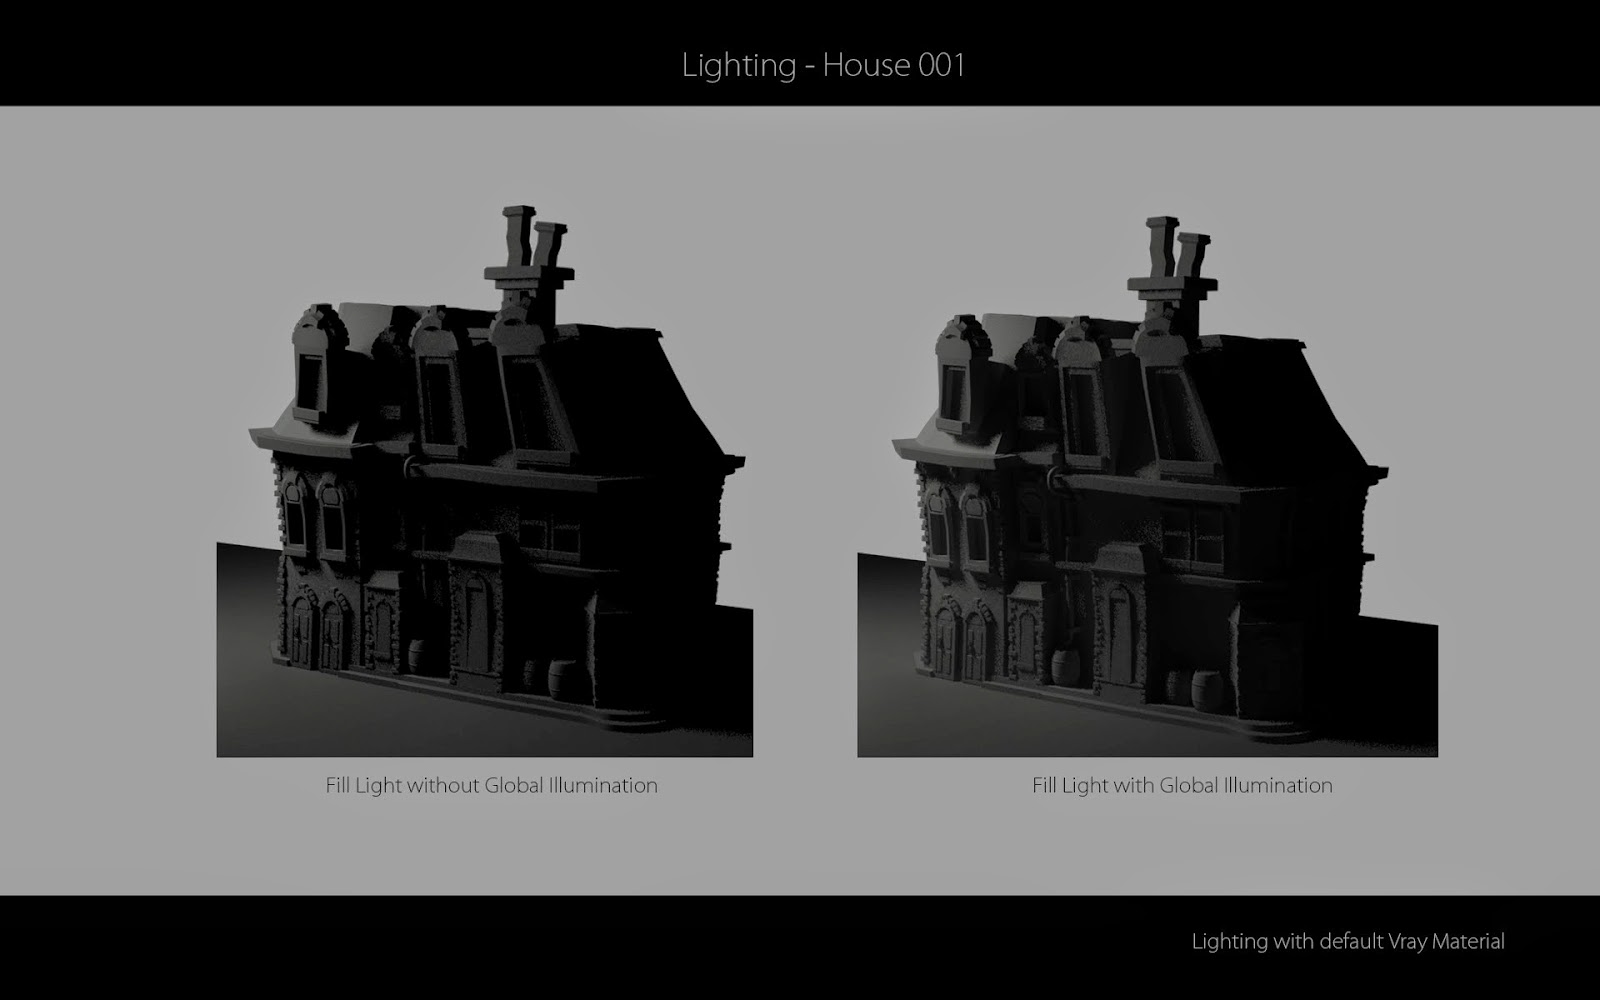
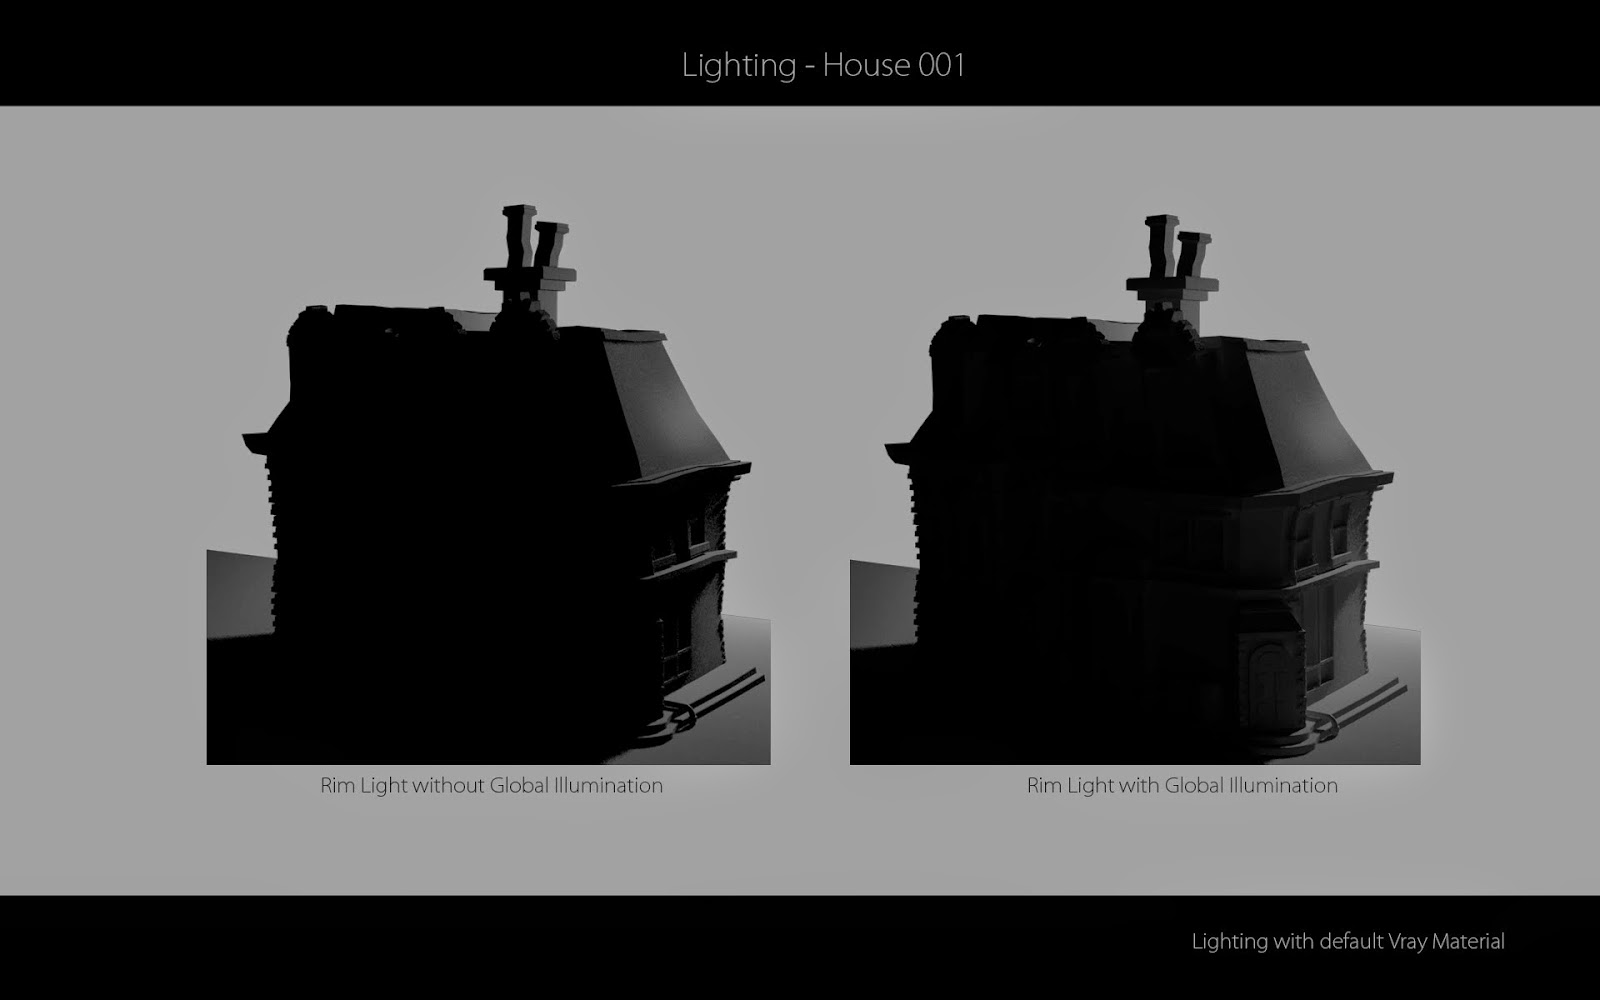
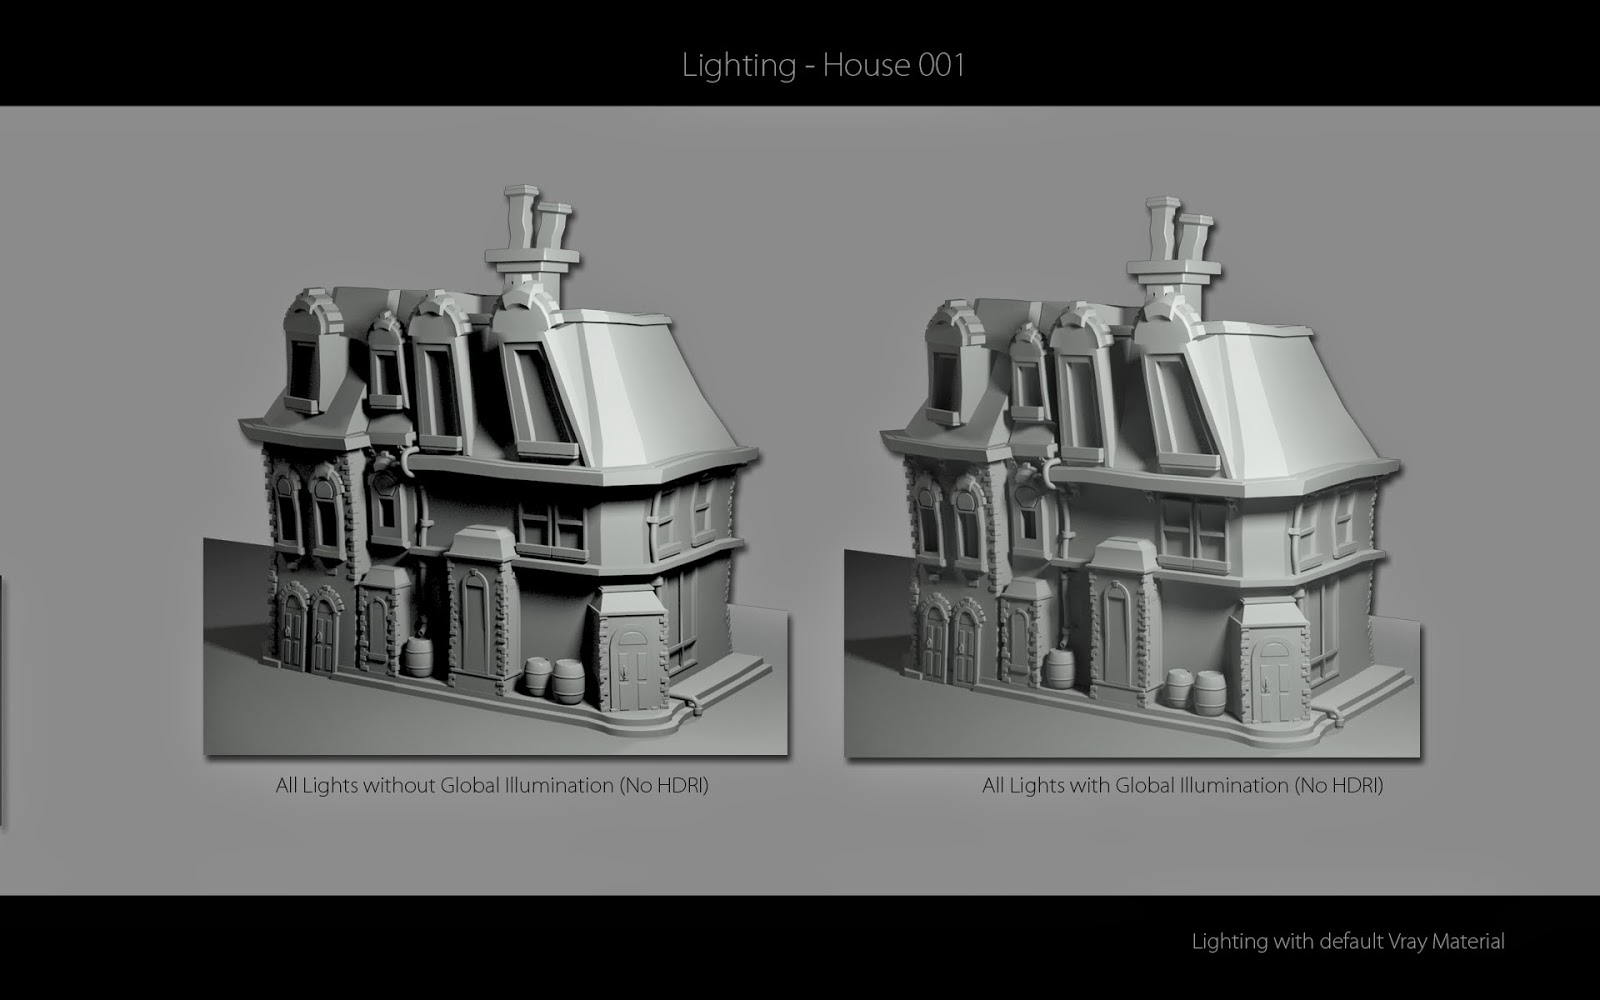
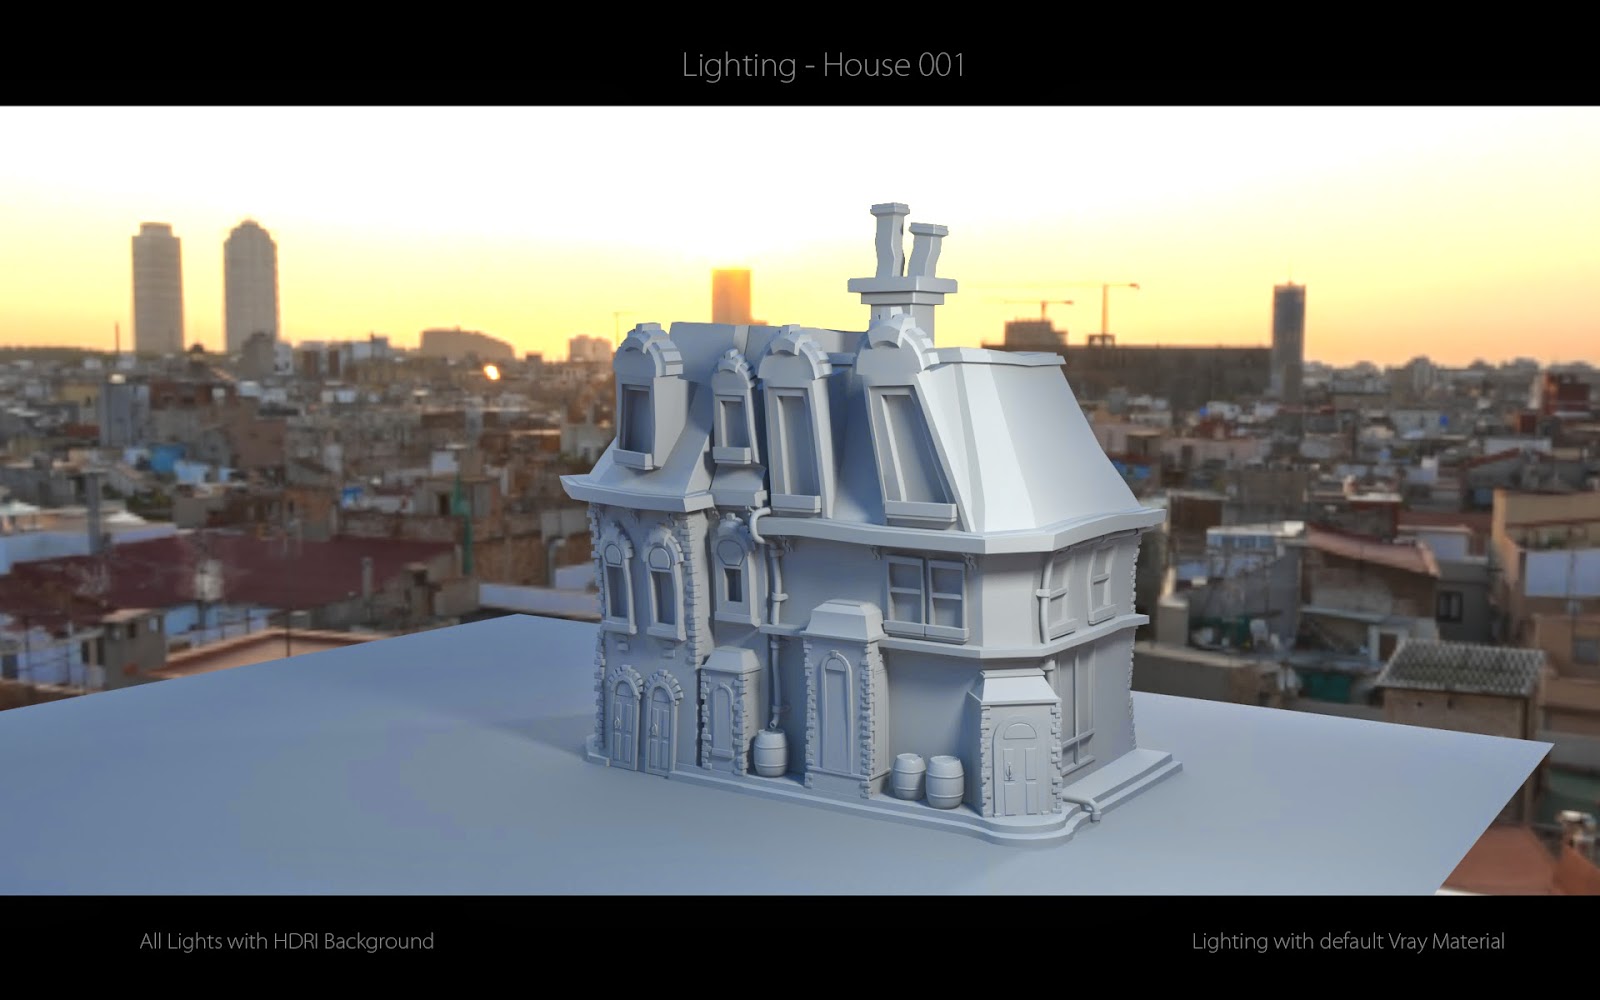
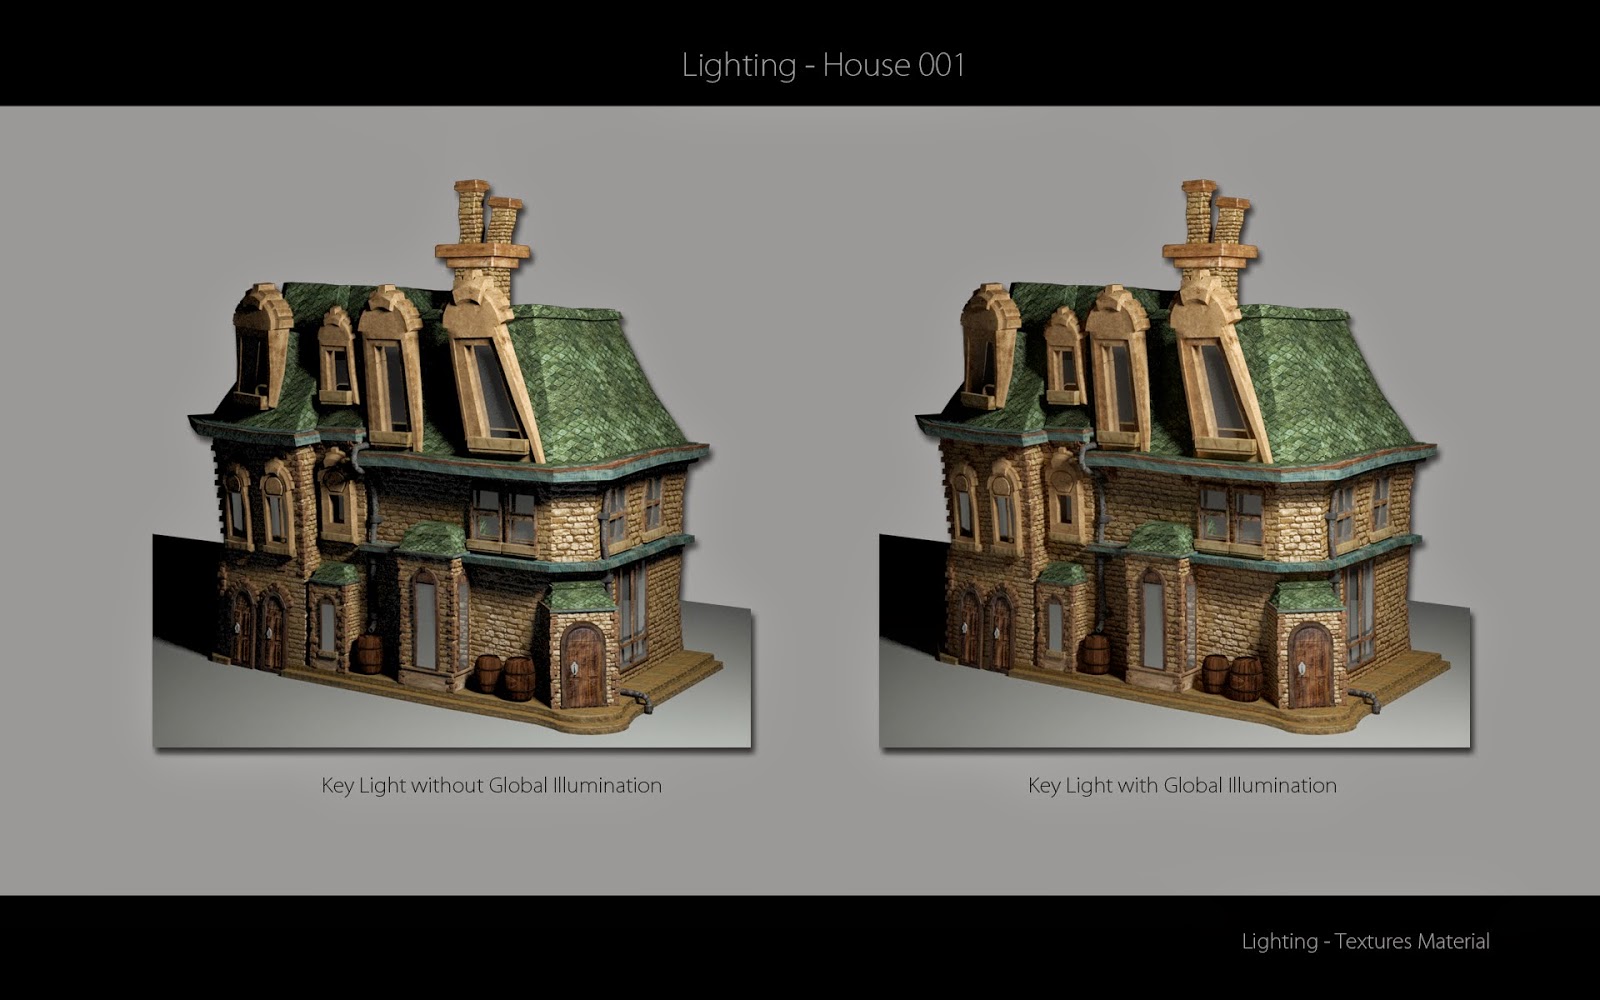
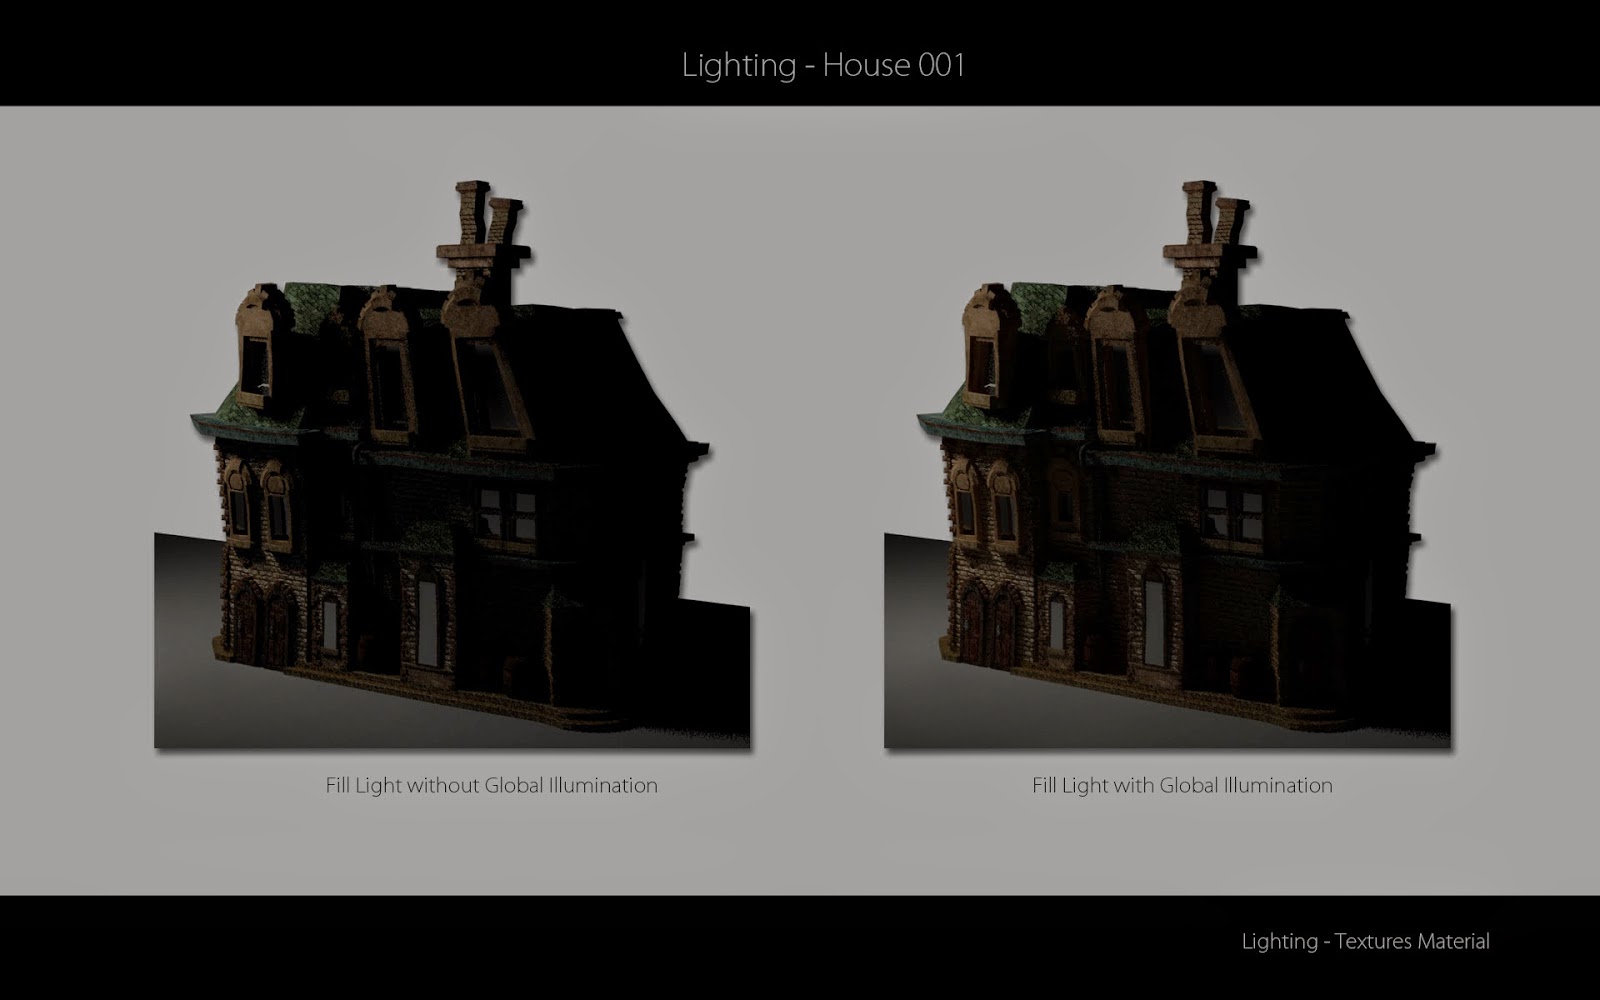
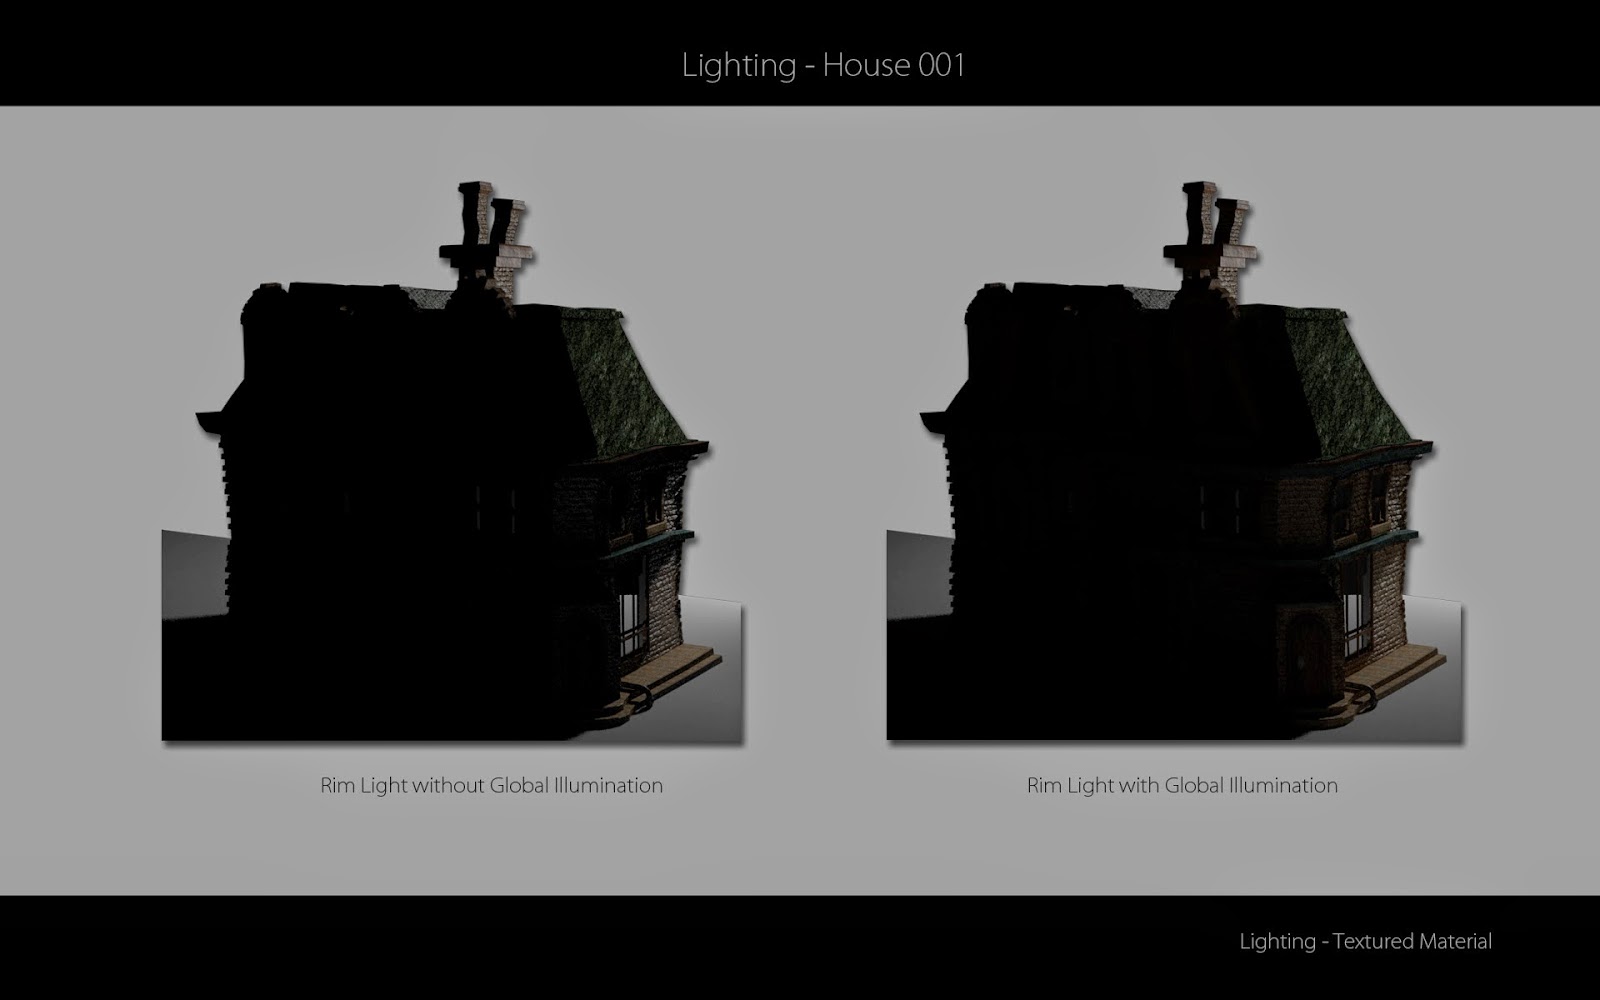
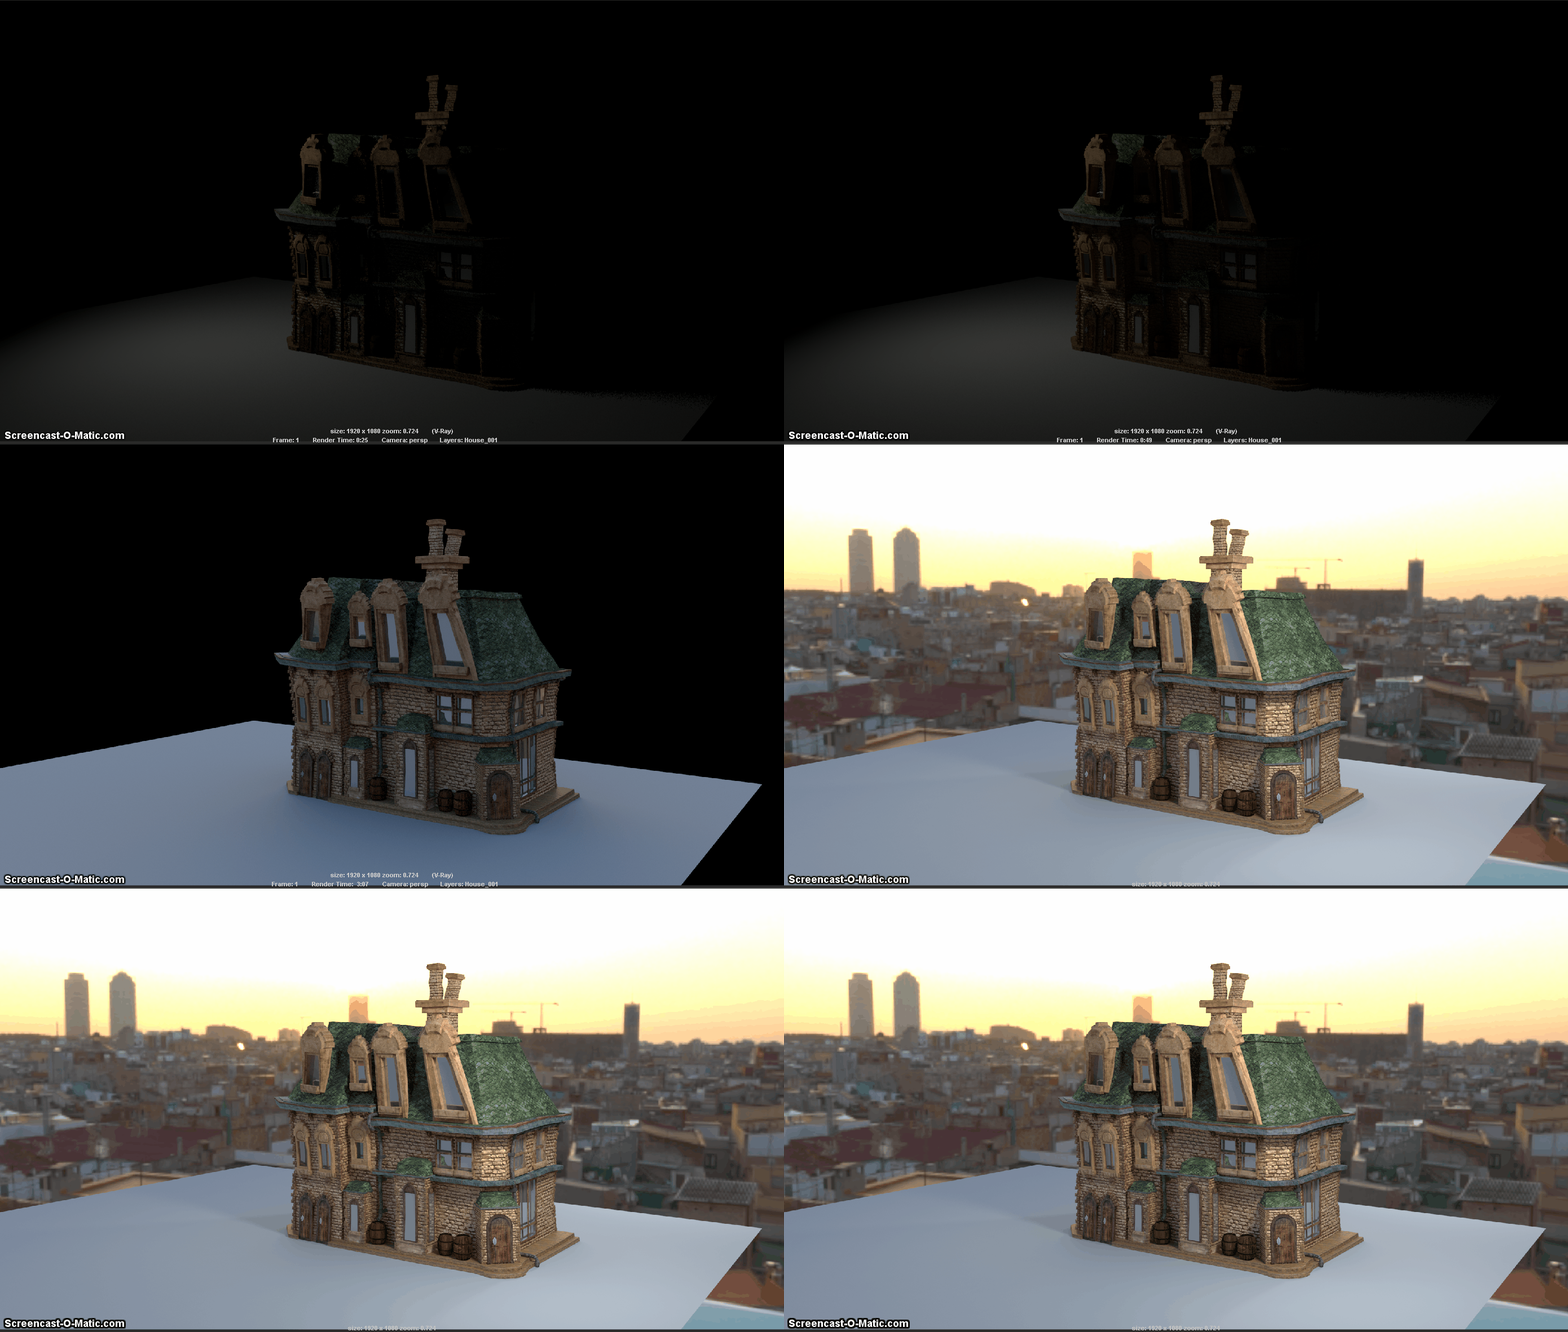
My favorite bit really, adds shape and mood to the image. I started of with the Basic 3 Point light setup (Key, Fill, Rim) and started lighting my model with a default shader slapped on (Vray Mtl). My light setup is displayed below. I always believe in the saying "Good lighting is felt not seen."

Jeremy Birn's book on Lighting and rendering is a great Bible on Lighting and Rendering and every time you read it you will always find something new.


Another website I found really comprehensive was this tutorial on different lighting moods by Floze. 


HDRI's were downloaded from this library : http://www.hdrlabs.com/sibl/archive.html


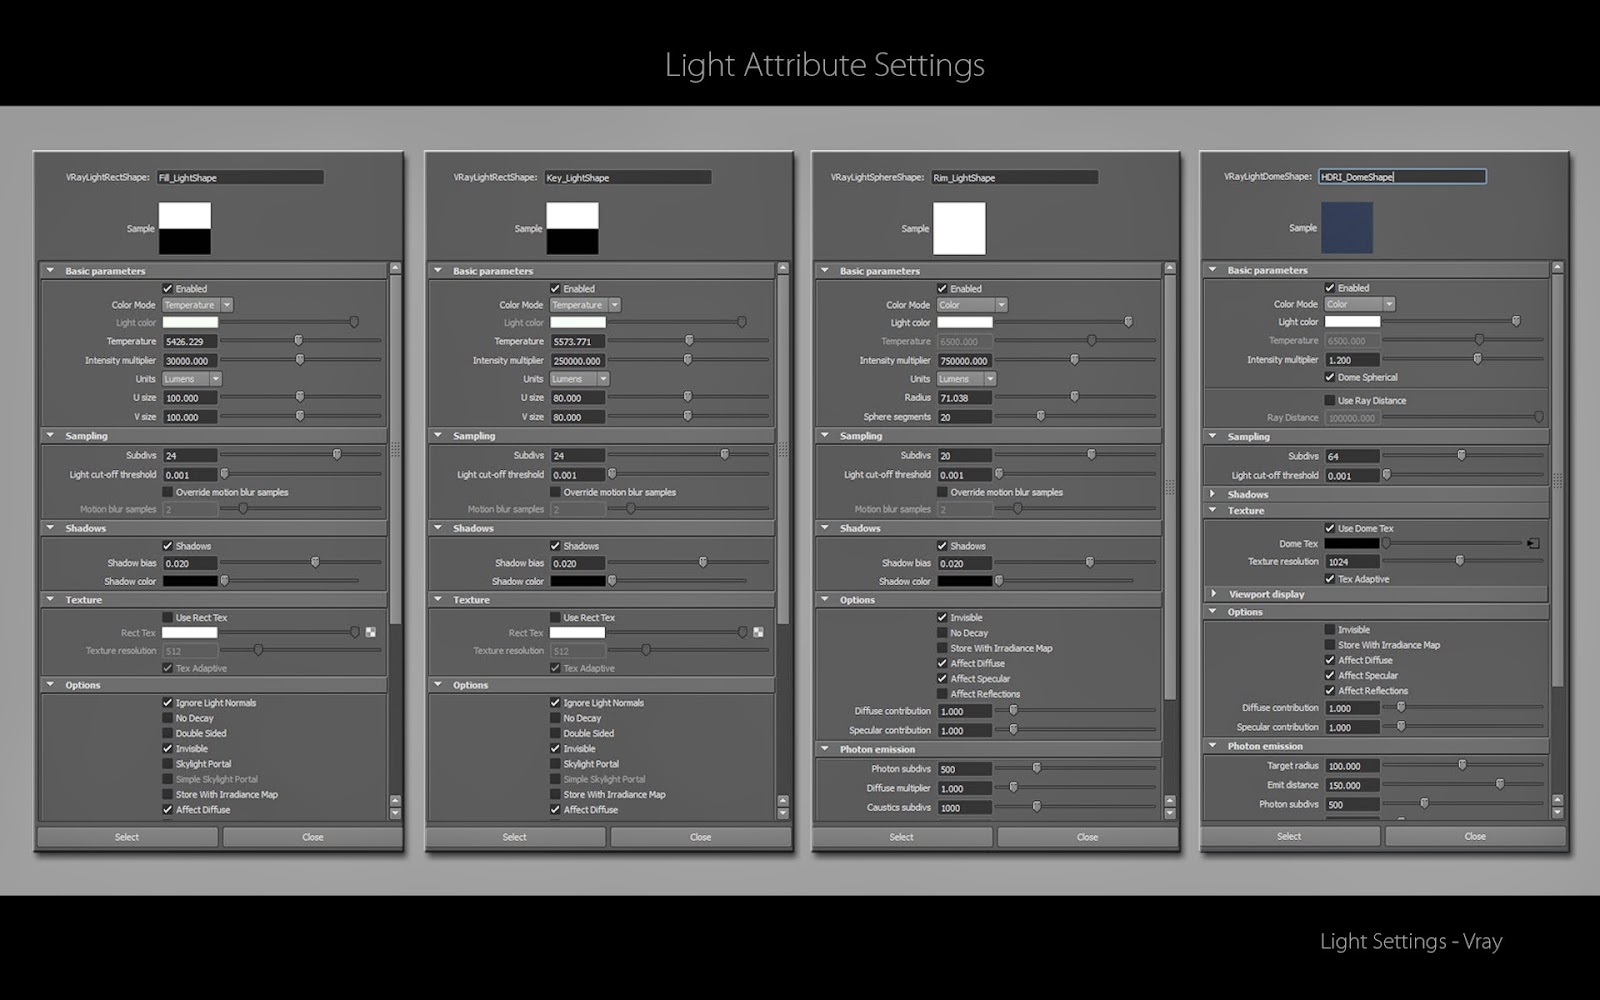
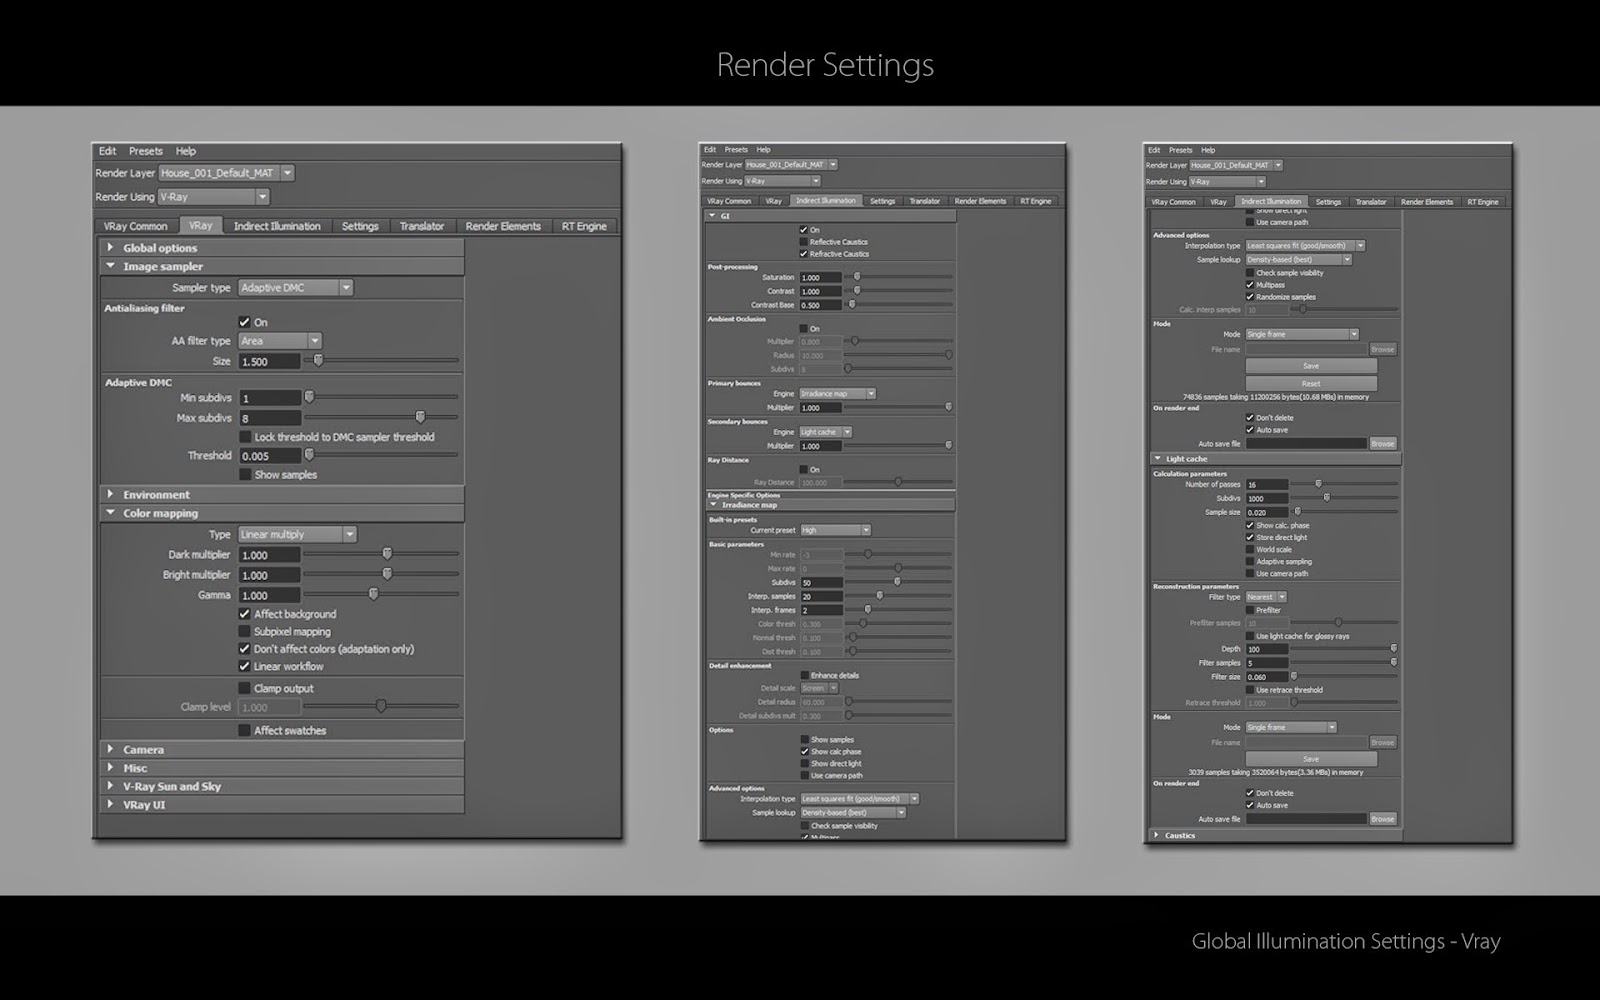
Seen below is my lighting setup used to light the scene. Nothing too fancy just a few lights and bam!! you got yourself a decent looking scene well lit and render light.


Light Attribute Settings in Vray

Global Illumination Settings in Vray


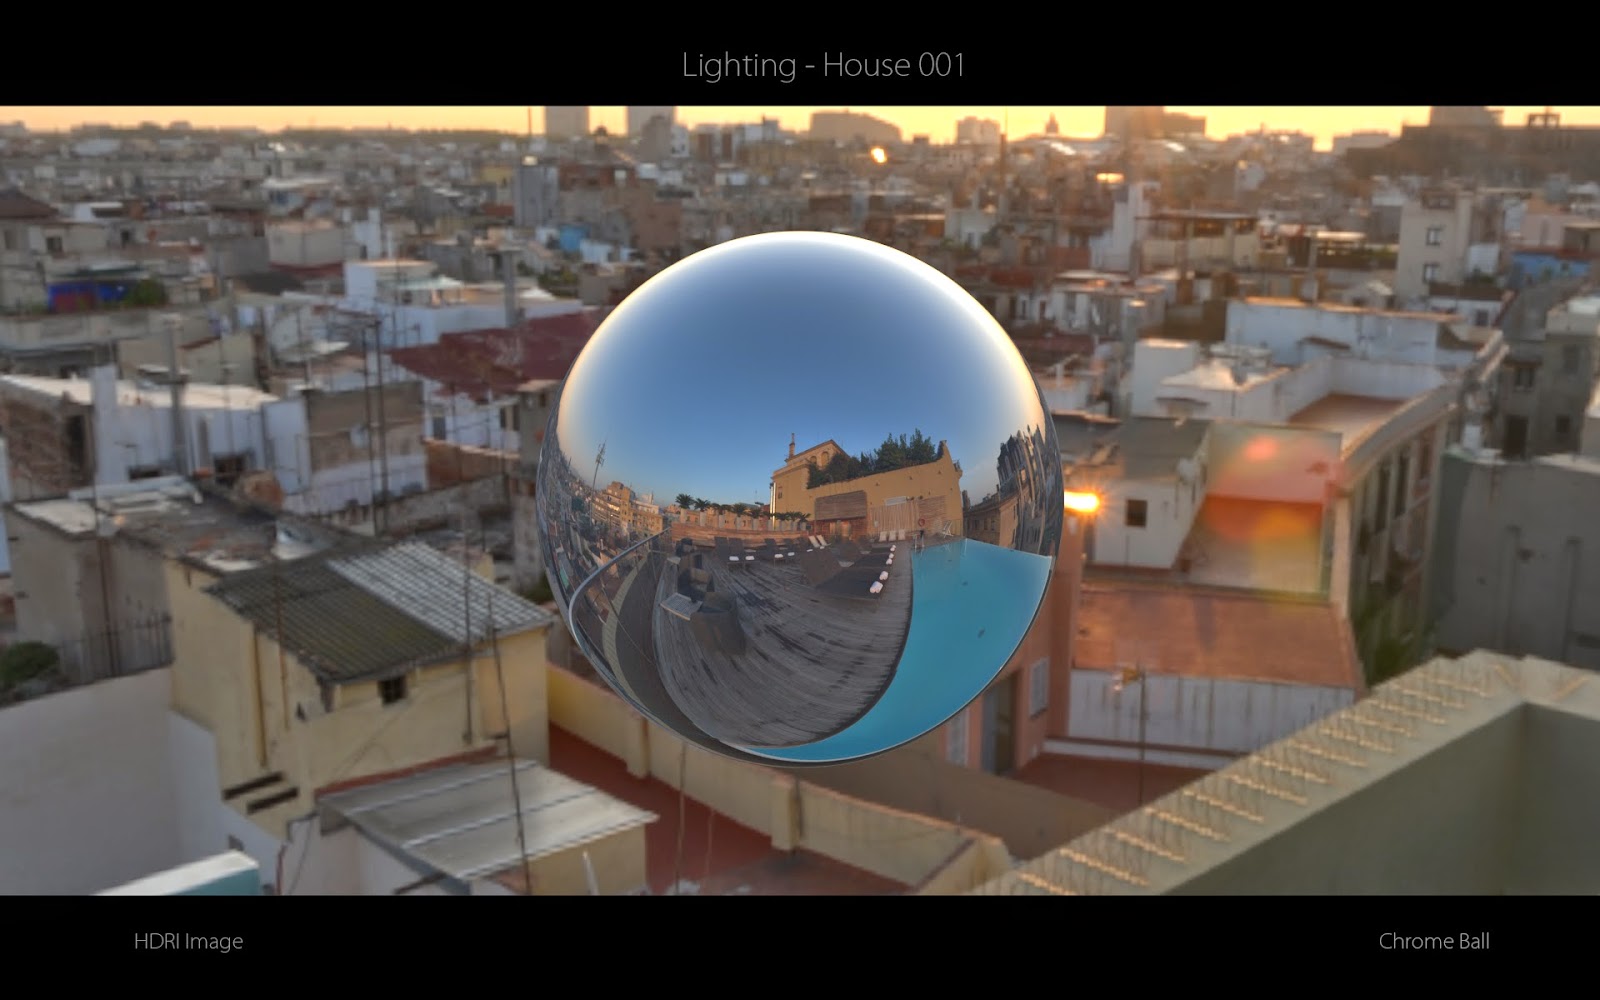
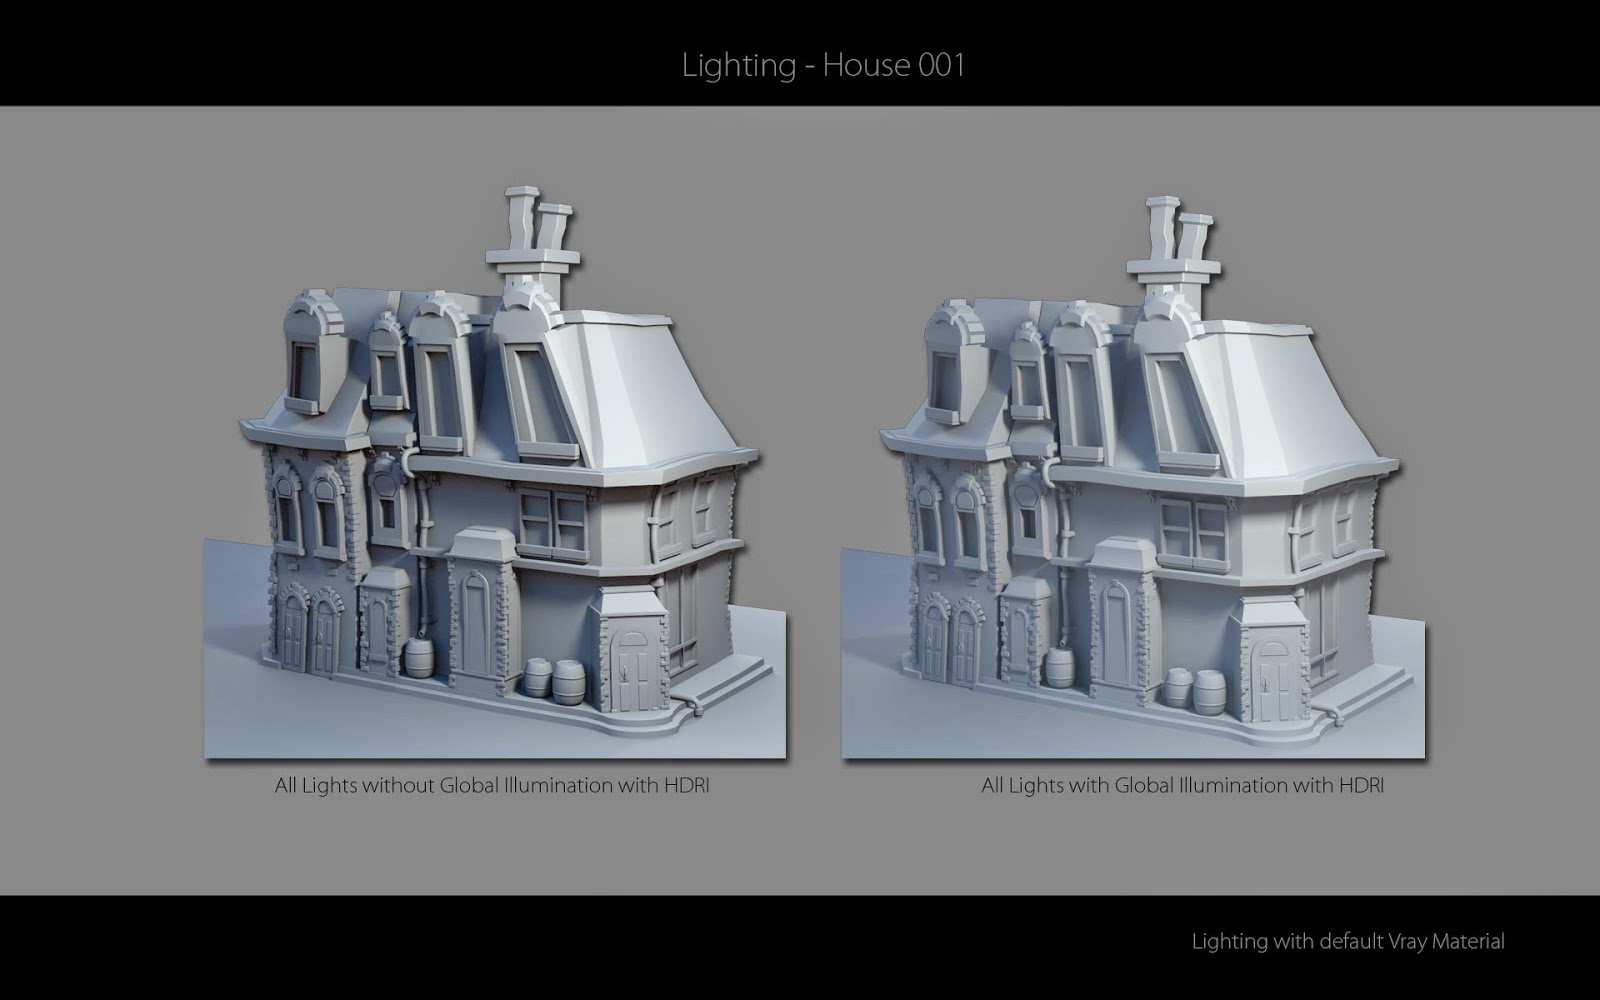
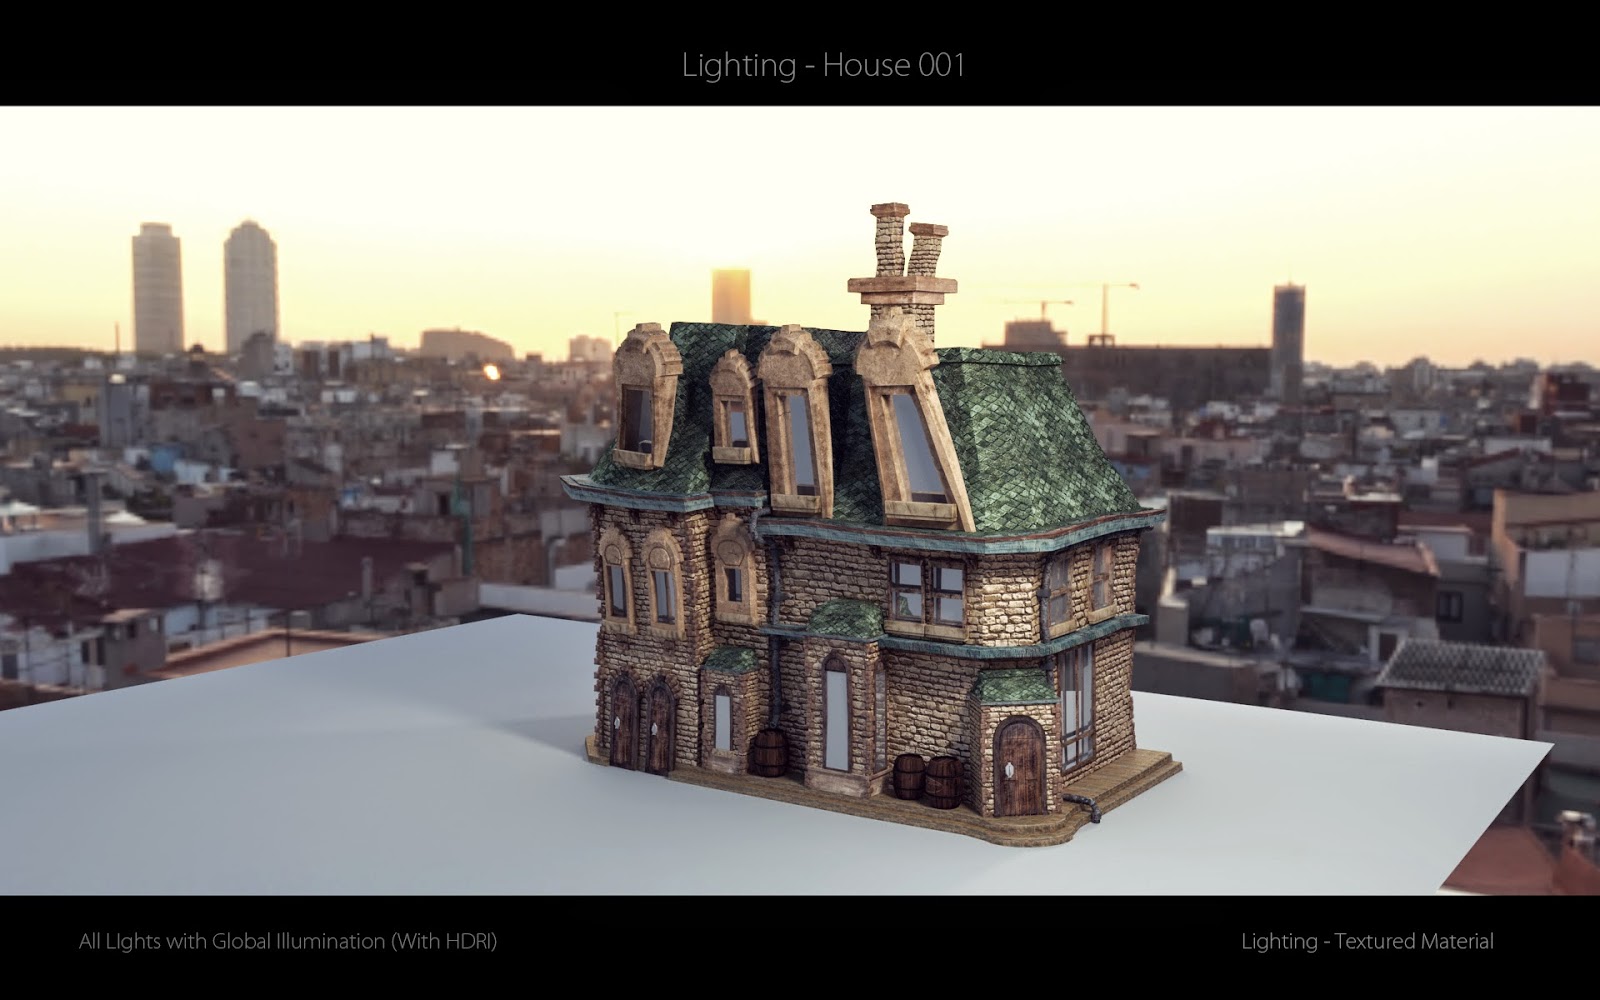
I used the Barcelona Rooftop HDRI, it was the closest image I could find that fit my scene. I should have actually gone and shot my own HDRI image and will do so for my Major project, but for my requirement the Barcelona image worked just fine.


Author : Blochi
http://www.hdrlabs.com/sibl/archive.html

Chrome Ball with HDRI
Key Lighting

Fill Lighting

Rim Lighting

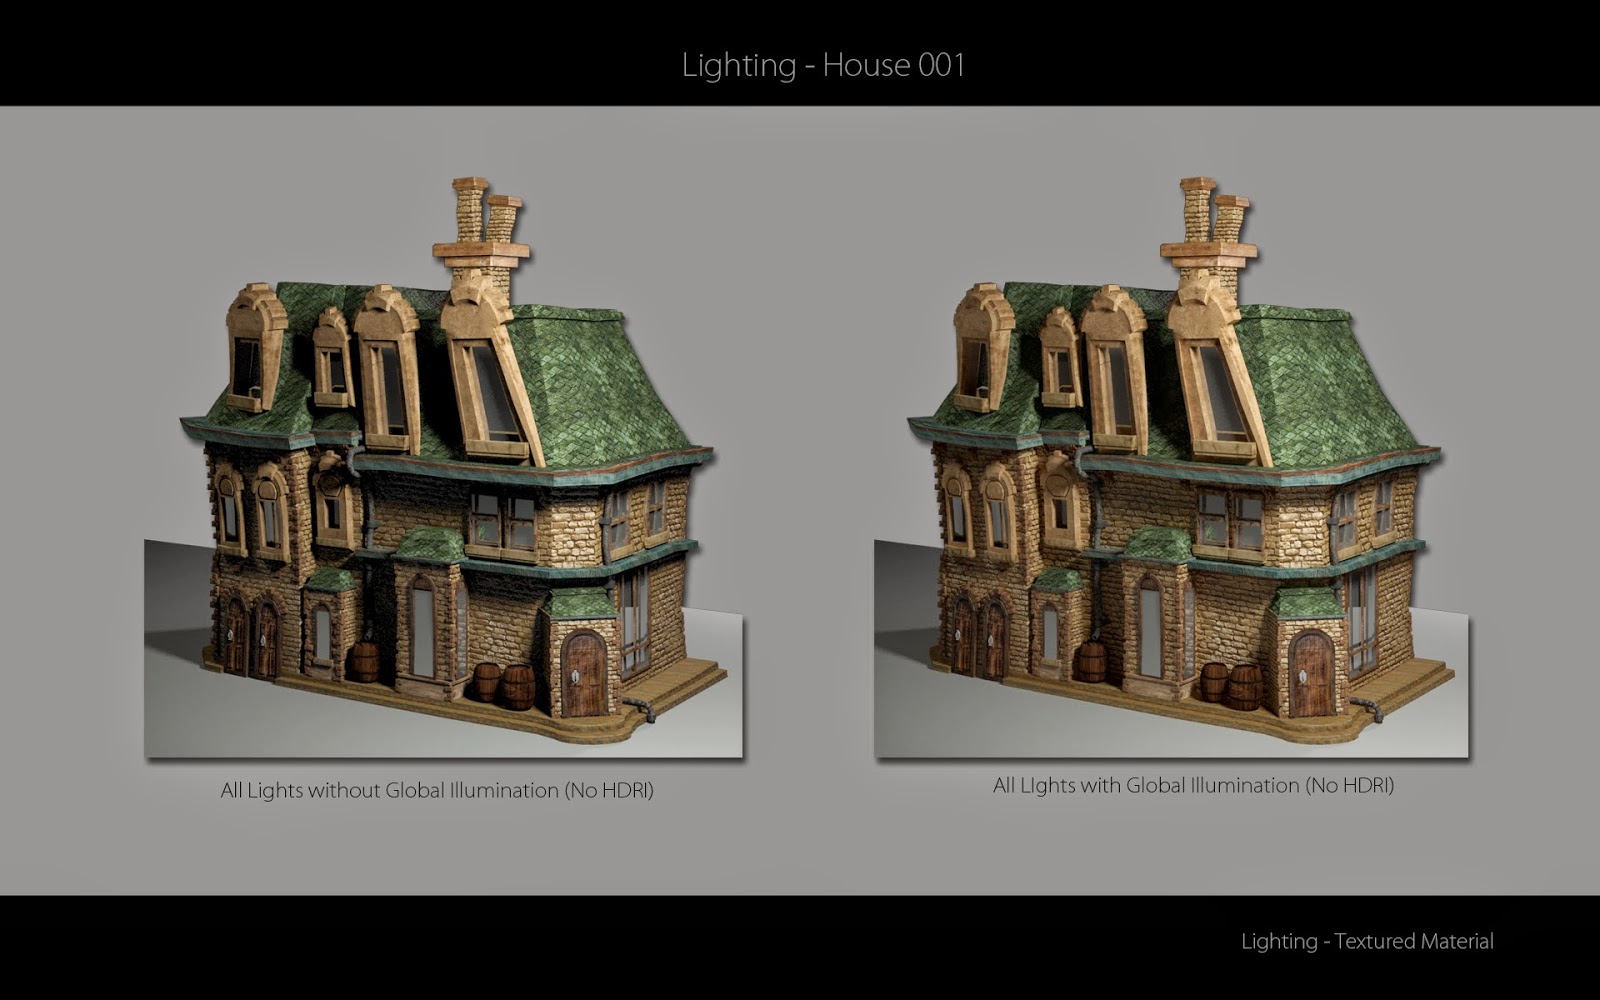
All Lights with No HDRI

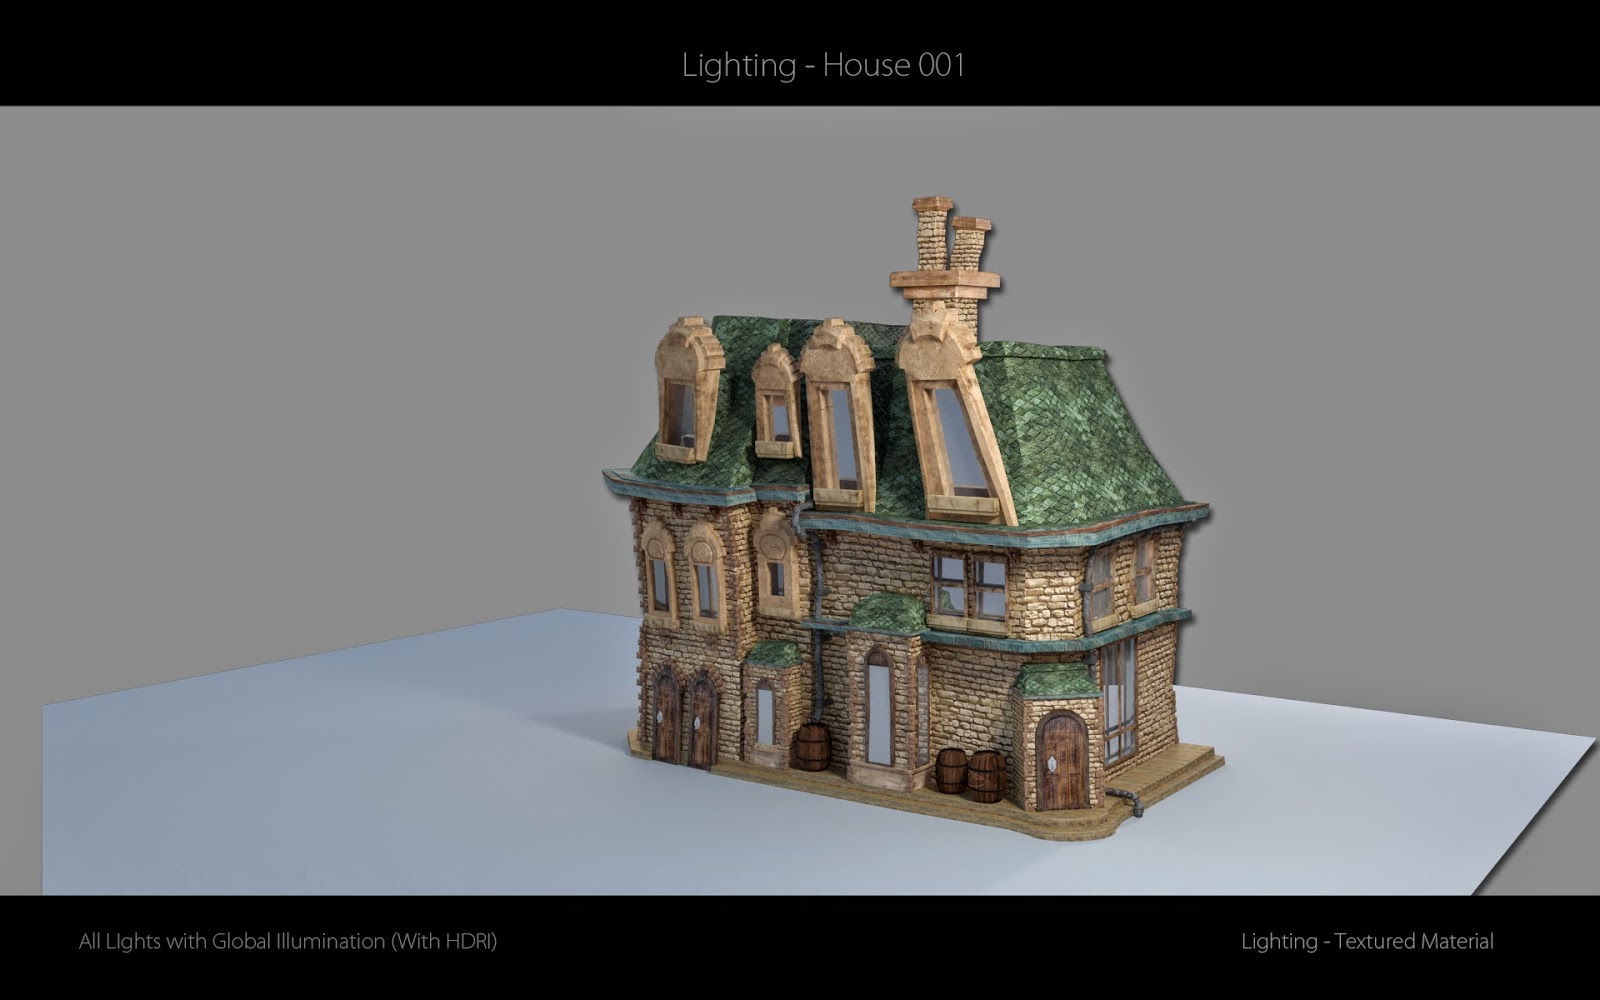
All Lights with HDRI

All Lights with HDRI & Background


Textured Lighting Process

Key Lighting

Fill Lighting

Rim Lighting

All Lights with No HDRI

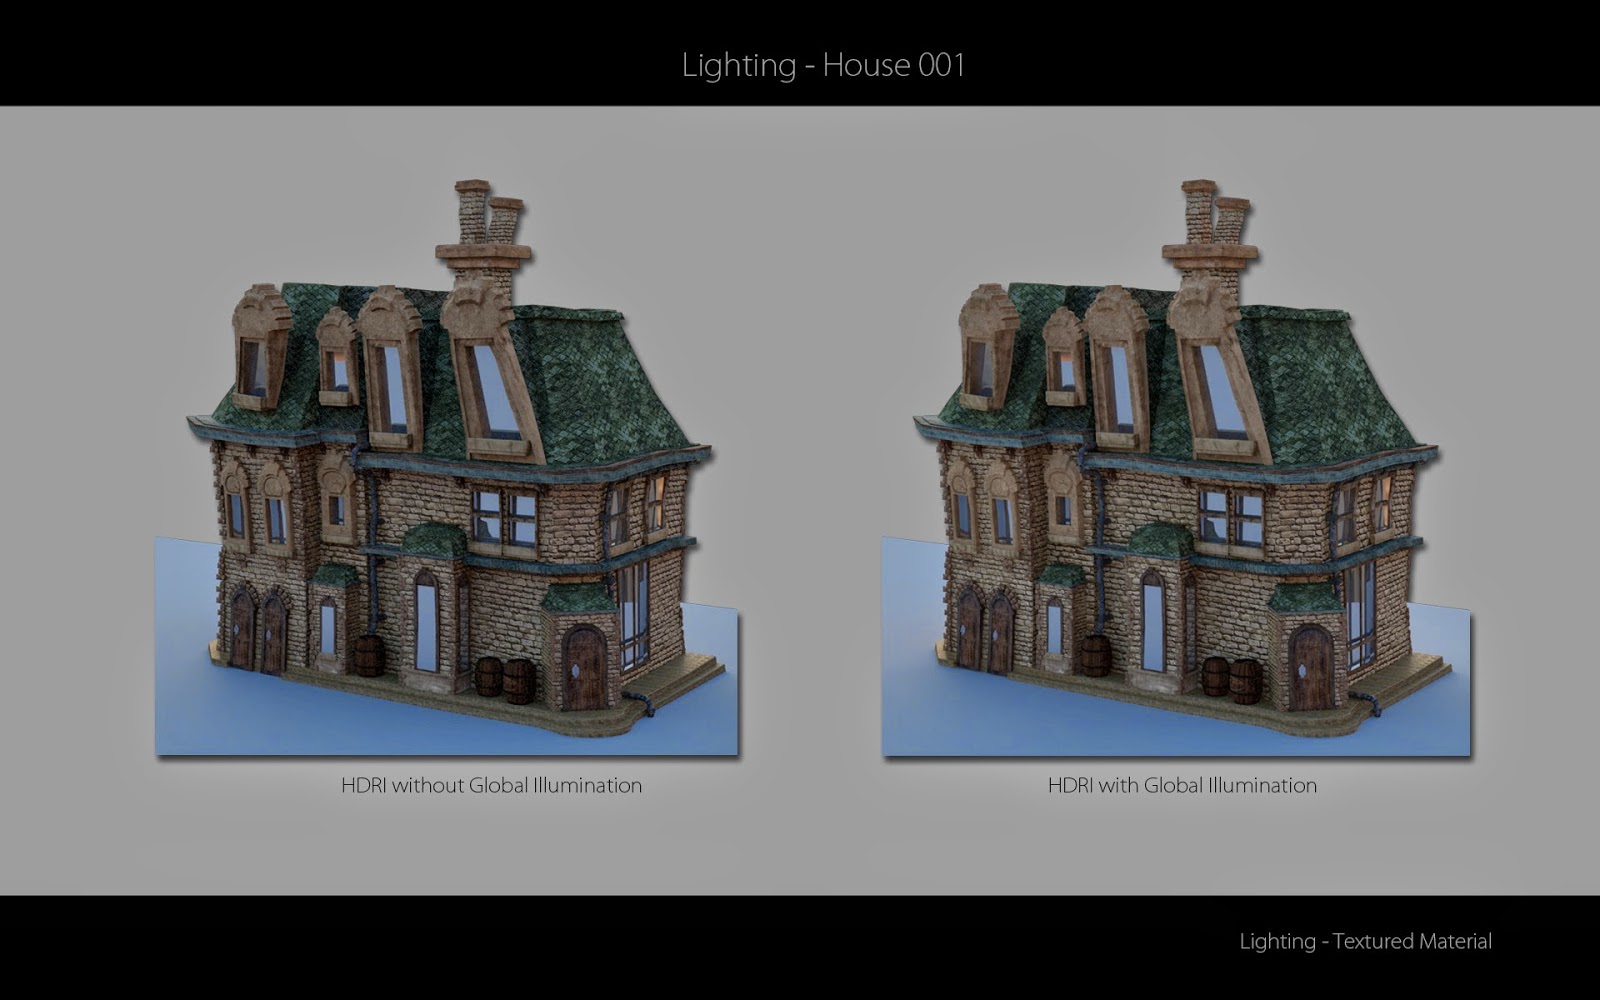
HDRI Lighting
All Lights with HDRI

All Lights with HDRI (With BG)

Lighting Process along with Render times ( Resolution : 1920 X 1080 )

References


Birn, J. (n.d.). Jeremy Birn. Jeremy Birn. Retrieved June 15, 2014, from http://3drender.com/jbirn/

Birn, J. (2000). [Digital] lighting & rendering. Indianapolis, Ind.: New Riders.


Snickelways of York - Construction Study


Scans from the Snickelways of York Book 

Mark W. Jones

I got myself a secondhand copy of Mark W. Jones Travel Guide, which by far is the best guide I have read, published in 1983 Mark covers every nook and corner of York, England. I still haven't finished reading the book but will do so eventually. So much to read but so little time. This book provided a good foundation for my project and helped kick start it. It does include a very detailed description on The famous Shambles of York.


References 

Jones, M. W. (1983). A walk around the snickelways of York. York: M. Jones.